Chalice Affix
Optimal affix combinations for each position
Chalice Overview
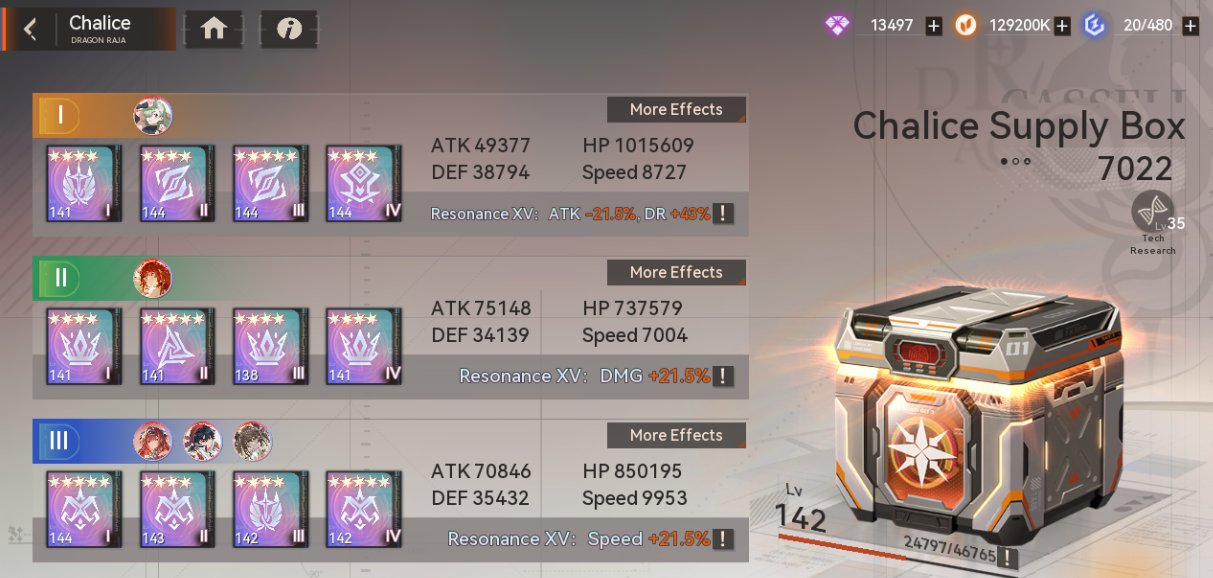
Example of properly configured Chalice affixes
Recommended Affixes by Position
Front
Resistance Rate + Damage Resistance
Block + Damage Resistance
Mid
Critical + Damage Bonus
True Damage + Damage Bonus
Note: Only Viable on Units that rely on True Dmg
Back
Status Resistance + Damage Resistance
Quick Reference
| Position | Primary Affix | Secondary Affix | Notes |
|---|---|---|---|
| Front | Res Rate | DMG Res | Standard defensive option |
| Block | DMG Res | Alternative defensive option | |
| Mid | Crit | DMG Bonus | Standard offensive option |
| TRUE | DMG Bonus | Situational: Only for True DMG units | |
| Back | Status Res | DMG Res | Debuff immunity + defense |
Tips & Recommendations
Front Position
Choose between Res Rate or Block based on your unit's defensive stats. Both pair well with DMG Res for maximum survivability.
Mid Position
Crit + DMG Bonus is the standard choice for most damage dealers.
Only use TRUE + DMG Bonus if your unit specifically scales with True Damage. This combination is wasted on units that don't have True Damage in their kit.
Back Position
Status Res + DMG Res provides crucial protection against debuffs while maintaining defensive value. This is especially important for key units that need to avoid crowd control.